See what other customers have built using our cat tree plans.
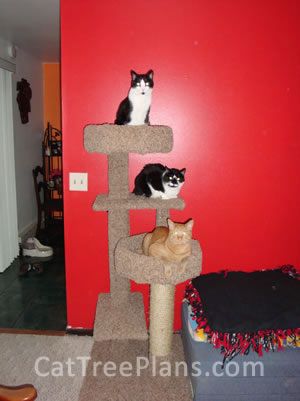
Steve McQueen, Race, and Oliver (top to bottom) insisted I send a thank you email for such great plans. The attached photograph is of my resident cats and their cat tree. I have made 5 cat trees as of now. Four of the trees are in my foster room. I foster cats for a local rescue in my area and without your plans my foster room would be empty. The plans are easy to follow and it is a great project. I tell everyone I know about your plans because I think they are excellent.
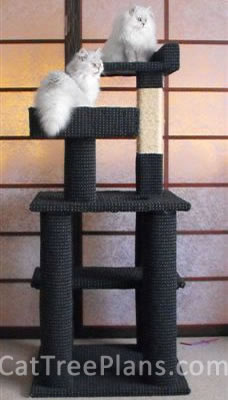
I am sending you a photo of my two Chinchilla kittens Chico and Bella enjoying their Mistoffolees Castle! It has been a great success, and want to thank you for creating it.
It was not possible to find anything as good as this in the shops here so was thrilled to be able to make one.
The cat tree is just the most favourite spot for my two always indoor friends. Not being to get outside and climb trees, their cat tree is the first spot I go looking for them. Half the night they sleep on it and the other half on my bed!1
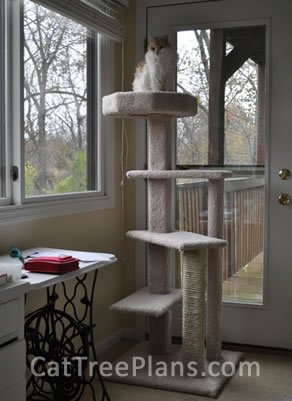
I built the grizabella staircase in two days. The plans were perfect and easy to follow. I have a pneumatic stapler and it made the job of installing the carpet a breeze. From the instant we put it in its place Dewey (our cat) has made it his home. I spent a total of $40 in part because we got our carpet remnant free after we told the man at the carpet store what we were doing. Thank you for such great plans.
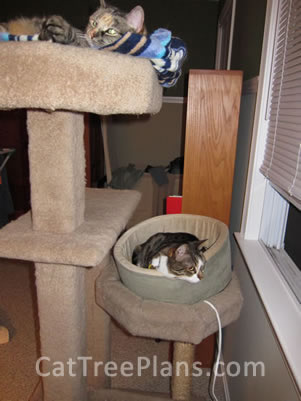
Thanks for the great plans. They were easy to follow. I built the staircase with my son during a weekend. We also got a 16 inch heated cat bed from amazon

that fits in in the bottom perch that both cats fight over. Can't decide which one to make next.
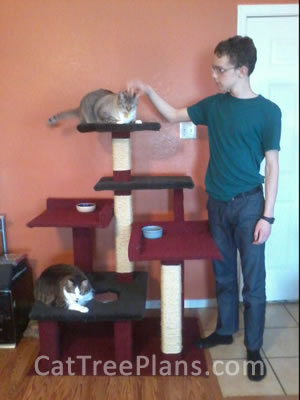
I recently finished my cat tree! I'm so excited about it. My cats are quite large (about 18 pounds each...and they are not fat) so I needed a custom tree. I put together 2 of your plans to make this tree. It is a combination of The Castle and Staircase for Two. My cats love it. The top bed ended up being without the sides, mostly because I cut the board wrong. I left it because they are big enough to need the extra space. I also increased the other two perches from 16x16 to 18x18. We have a dog who likes to help himself to the cats' food so I feed them on these two perches. It also makes them work for their food. I also increased the size of the hole from 5 inches to 8 inches to accommodate for my cats' large size. Brutus is on the top. Caesar is down below. I added my son in for size reference--he is about 6 feet tall.
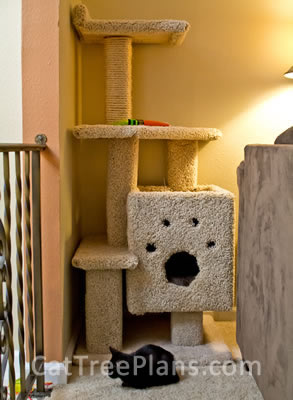
Just completed one of your plans for our new cats. It was pretty easy and actually a little fun as my children kept wanting me to get it done. They are trying to climb on it as well as the 2 kittens. It's definitely strong enough. I'm also happy as I keep hearing that if I would have bought something like this it would have cost me $100+. I had some scrap wood and some scrap carpet I used so total cost was probably $25.00. I used the Kreg Jig to make the box. Other than that the instructions were very simple to follow. Thanks again.1
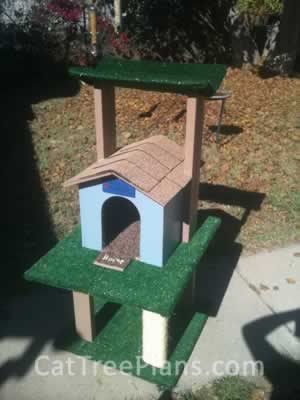
Thanks for the great plans. As you can see I modified it a little. The middle deck is a little longer to allow the cat to lounge on his "deck". I didn't leave a hole in the roof as i want it to be water proof. This was built for an outdoor cat. The plans were easy to follow and very clear.
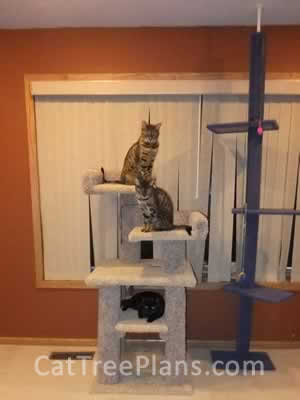
I had been asking my husband to build a cat tree for a few years and he never had the time. So, I went searching the Internet and found these plans and built it myself. Our cats LOVE it and play and perch on it all the time. In this picture, Daytona, Thumper and Midnight are trying it out . . .
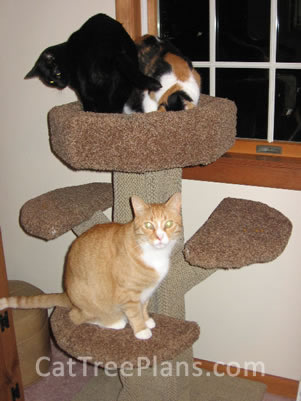
I volunteer at a local animal shelter. This is the second tree my husband and I have made to donate to an annual fundraising event. Another volunteer won it. Here is a photo of her kitties on their new tree and a short note: "We love our new scratching post. Its lots of fun and has some really cool smells on it!"
Your plans are great - they are easy to follow and modify. We have made several trees for friends as well as the shelter, and we always get great reviews about them.
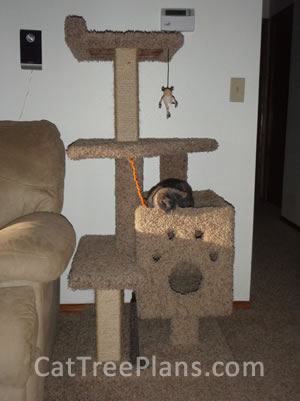
I ordered your set of cat tree plans yesterday, and built this cat tree the same day. I was amazed and pleased with how easy you have made the directions. It was so nice and the wife LOVES it, almost as much as the cat! Thanks so much!!
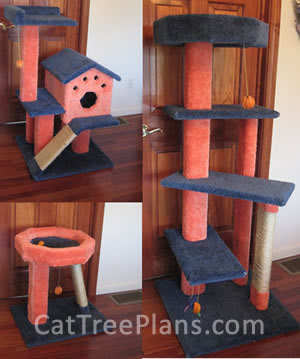
My husband and I decided to make cat trees for my 3 adult sons for Christmas. Being that we are all Syracuse University fans, we decided to make them in the school colors of orange & blue.
As you will see, they came out very well. Our kids loved them.
By the way, there are no cats in the cat trees because my sons all live in other places. They will have to take their trees home to their houses. after Christmas.
Everyone who saw these were very impressed!
This small one was made for our son's cat in Philly. He lives in a small apartment. This perch will fit just right under a window and Hudson can look out at the world to his heart's content.
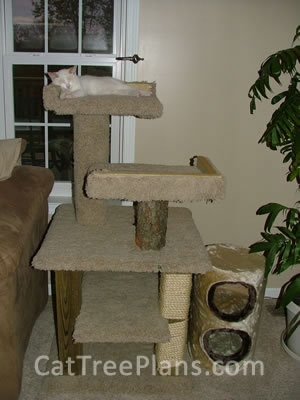
I just wanted to send in a photo of the cat tree I made from your plans (plan #2). As you can see, my cat loves his tree! I made the tree myself without help in one weekend, using a skill saw, jigsaw, staple gun and power drill. Not a bad feat for a 'girl'.
The tube kitty condo, pictured on the right is something I purchased from WalMart for $20!! As you can see, my homemade cat tree is far superior and was made from scrap lumber around the farm! I think the only expense I had was buying the carpet ($17) and sisal rope ($7). I also used a log for a post and like the way it looks. A tree like this would retail for around $200.
The directions were very easy to follow and I plan on making another one very soon for our barn cats. Also, I received my download within minutes and the CD of the plans came within two days of ordering! Wonderful customer service!!
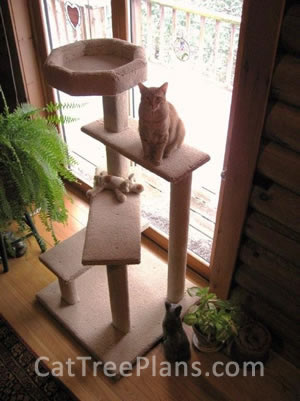
This is our cat, Buddy. He was declawed when we got him, and we searched everywhere for a cat tree that he could climb without needing his claws. Your Grizabella Staircase was perfect once we customized it by increasing the overall size of the base and the length of the stairs by six inches, for it gave him more of a ledge for getting into and out of the perch. Buddy claimed it for his own within five minutes after we had it in place, and he absolutely loves it. We were a little nervous about the project when we began, because we're definitely not carpenters, but your plans were so easy to understand, and we did the entire project in one weekend. We thank you.....and so does Buddy!
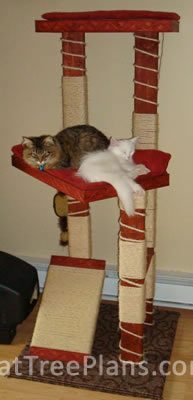
Just wanted to thank you for your wonderful plans. They are so clear and well made, it was great working with them.
I am sending you a picture, as you can see Plan 5 was changed quite a lot. The whole purpose was to reduce the carpeting for easier maintenance (my vacuum can't be used on the cat tree!). So as you can see, I didn't put the top perch and changed the first step for a scratcher. The second step was made bigger to make a bed. There is only carpet on the base; step 1 (the scratcher) is covered in sisal rope and step 2 and 3 have a home made cushion with washable cushion cover. The cushions are secured on the steps with velcro. To avoid seeing the raw edges of the steps, I added a decorative wood piece around all the steps. All posts were dyed and are covered with sisal rope. It does require A LOT of sisal rope! But this will allow very little cat hair accumulation! And these changes can be made for all your plans so I'm on my way to making the Mistoffolees castle in the same fashion. As you can see, my two cats Moka and Yuki are loving it!
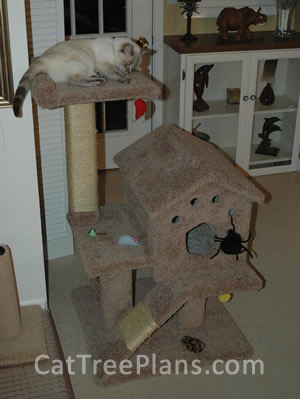
Just thought I would send a picture of the final result of my 6 hours of work, I really enjoyed building the cat condo and it looks like she likes it too. Thanks for the great plan, was very easy to follow. As you can see I added sisal rope to the perch post as I thought it would be a nice addition and a good place to scratch.
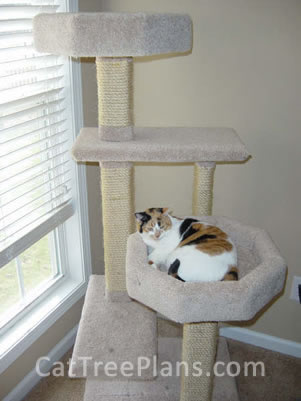
I have completed my Cat Condo following your plans. The only change I made was to apply sisal to all of the vertical surfaces. I am happy to say that my cats are enjoying their new condo very much.
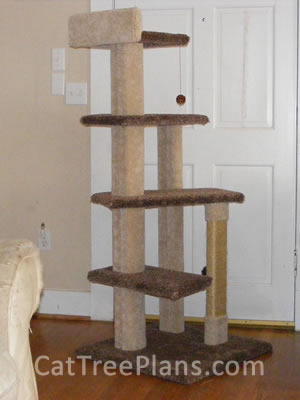
I loved the plans, they were so easy that I have been looking at the thousands of images on the internet and figuring out how I would make any of them based on the instructions from your CD. The information was elementary, and I had fun making one. I have made just about all of the ones in your plans and it was very instructional and easy to follow. The carpeting was challenging but I believe it came out well and my cats love all of them. They practically live on them when they're not chasing each other through the house!
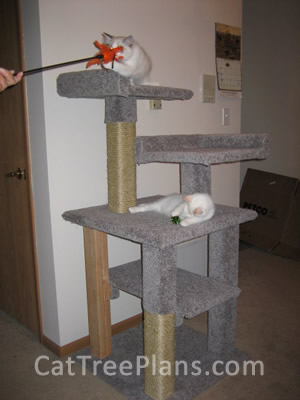
Hello! We bought your cat tree plans about 4 years ago and have attached a picture of our two kittens on their first day home and playing on the tree. They loved it...and still do all this time later! They've gotten much bigger and so the style tree we did was perfect for them. It is really sturdy and has held up beautifully. They are big cats, so we knew we needed a stable, dependable tree for them and your plans were perfect. Thanks so much for your easy plans!
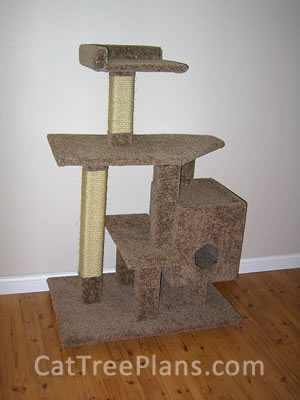
I built this from your plans, expanding it just a bit on the left side to include a nice tall post for scratching. I also put rubber casters on the bottom to protect our floors and to make it easy to move. You wrote excellent directions. This was important because I don’t do a lot of construction with wood. I appreciate how many pages you took to explain how to do things, rather than just stating the steps. This is the reason why I purchased your plans, rather than going with the free ones I could find on the web.
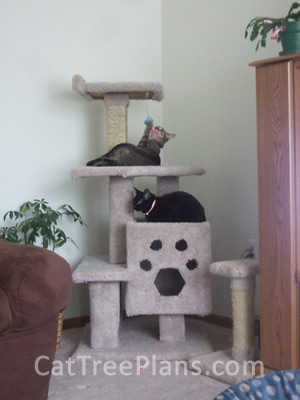
Our cat tree is finished and it only took 2 days! It looks great and the cats are crazy about it! Here I have attached a couple of pics of it! Please feel free to share on your site. Our cat's names are Shadow and Sheila and we are from Michigan! They can't get enough of their tree!
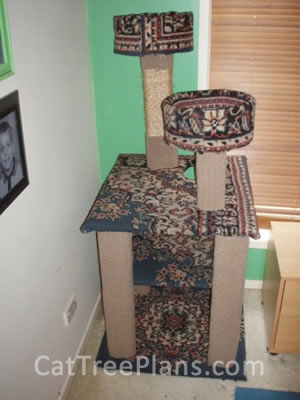
Thank you so much for putting this ebook together. Your site was a heaven sent for me. The .pdf for the plans came through quickly and I put together plan 2 quite easily with only a few hints from hubby, and a little help from my children. We had a great time putting this together from recycled materials. We got the rug 2nd hand from freecycle.org, the wood was all lying around the place and the beds at the top we made from cut down buckets which we have an abundance of. So all in all a very cheap project. Our young kitties are going to love this as they get older! Thanks again!
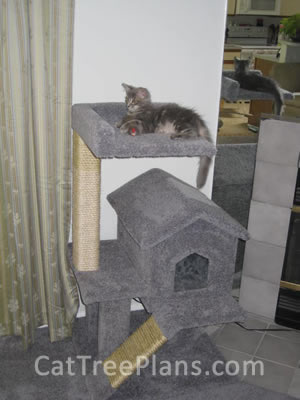
Thank you for the excellent plans. As you can see, our new kitty Winston really enjoys his new digs.